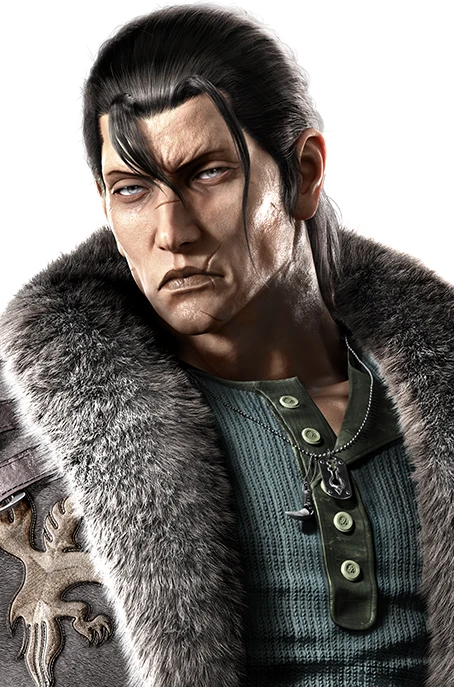
Combos
Starter
Most Important


 df+14,4FC df+1,4SNK 2 T!(3+4),2qcf+1+2
- CH f

 qcf+3+44,4FC df+1,4SNK 2 T!(3+4),2qcf+1+2
 (sidestep left) qcf+3+44,4FC df+1,4SNK 2 T!(3+4),2qcf+1+2
 3 (clean hit)df+3+4qcf+3+44,4FC df+1,4SNK 1+2
More Combos
 qcf+3+44,4FC df+1,4SNK 2 T!(3+4),2qcf+1+2
- (db1)d+2ws+4b+1,2 T!df+3+4(3+4),2qcf+1+2
- heat on ws~
 qcf+3+44,4FC df+1,4SNK 2 T!(3+4),2qcf+1+2
Wall Combos
- d+3,2,1+2
- b+2ws+1+2
- f+3~DFSNK 2 (PGR okizeme)
Wall Carry
- qcf+3+4 for short distance, and b+4,3 to carry medium distance
With Tornado
- f,f,f+4 T!d+3,2,1+2
- b+1,2 T!b+2ws+1+2
Heat Burst Ender
- After T!, you can df+3+4Heat Burstf+3,1+2~Fb+1+2
Key Moves
- Fast attack to start offense and check situations If you commit to 1,2 it's possible to counterhit into 1,2,1 You can use other follow-ups or alternatively use 2,1 for poking and creating different situations
- Mid poke to check situations. df+1,4 can be used to catch players that often challenge the first hit on block.

 A mid kick with many follow-ups to mix and pressure opponents. b+4,2 can shift to SNK by holding df adding more layers to this move.
- Low poke with great tracking and range. Useful to mix with your mid pokes and to catch stepping opponents.
- FC dfLow from full crouch that leads to strong pressure on hit.
- Advancing launching attack to control the midrange. You can delay the attack during the crouch dash animation to give it more range and catch stepping opponents.
 Slow mid attack to pressure opponents up close.
- Mid approach tool that launches on counterhit and leads to a strong pressure situation on block.
- ThrowsMix Dragunov's strong throws and Ambush Tackle with your mixups to make them uncomfortable using defensive options against your pressure.
Heat Engagers
- Jab string that can be counterhit confirmed into the last hit and activate Heat. Strong option to challenge situations.
- Great button to start pressure at midrange.
 Useful in punish situations. Launches as a heat dash move.
- Long range heat engager that is safe on block, however the second hit can be interrupted. Useful in combos.
- WSMostly useful in punish situations.
Command Grabs
 1 escape
 2 escape
- 1+2 escape
 unescapable
Block Punishers
| Startup | Standing | Crouching |
|---|---|---|
| 10 | 1 1 | FC d |
| 11 | ― | WS |
| 12 | | WS3 ws2 (heat) |
| 14 | 3 (heat) uf1 (range) | ― |
| 15 | | WS |
| 17 | 2 (range) | ― |
Suggested Whiff Punishers
- 3 (heat)
Guaranteed Follow-ups
- WS2 ― d3 (or d4)
- 4 ― (dash) db
- (dash) db3 ― (dash) db
- CH f
- 3 (or d4)
- -
- 3 ― d
- 3 ― d
- (4)3 (or d4)
- (4)3 (heat)
- CH (b2)-
- CH d3 ― db
- CH df3 ― db
- CH db3 ― db
- heat on b~2 ― d
- heat on CH 1~-
Defensive Options
- 3 (or b4)Reversal
- Manual low parry
- Power crush
Matchup Punishment
- SlideWS4 float
- Asuka's b+32 ― d
- Kazuya db+1,22 ― f
- Ling RDS f+3+4,3+4
- Ling AOP 3+4WS4 float
- evade Leo's b+1,4sidestep left the 2nd hit
- Paul's Deathfist2 ― d
- Demoman (3rd hit)2 ― d
- Alisa's b+3+4,(3+4)1 before 2nd hit
- Claudio's f+2,2...
- Kuma's f,f+2
- Heihachi's f,f+2
- Jack's d+1+2
- Jack's df+1,2,1,2
- King's JGS 4WS4 float
Notes
- Ambush Tackle becomes unbreakable and can be performed after certain moves