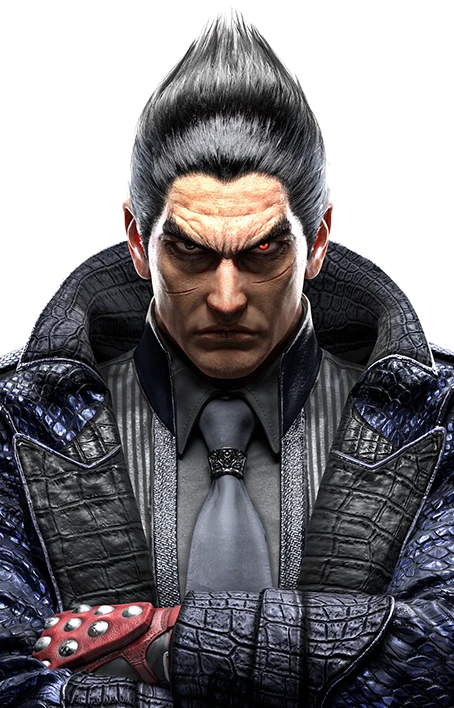
Combos
Starter
Most Important
- EWGF (f




 2)EWGF(short dash) b+2,2df+1,df+2 T!b+2,2,1+2
 f,n,d,df+1+2 T!(1,2),4,3(short dash) b+2,2,1+2
- CH f
 df+3,2,1 (hold) T!b+2,2,1+2
 - WS

 ws+1+2b+2,2b+2,2,1+2
More Combos
- CH d
 ws+1+2b+2,2df+1,df+2 T!b+2,2,1+2
 - CH (14)f,n,d,df+1+2 T!(1,2),4,3(short dash) b+2,2,1+2
- CH (df1)EWGF(short dash) b+2,2df+1,df+2 T!b+2,2,1+2
- CH (2)(dash) df+3,2,1 T!b+2,2,1+2
- heat on b~
 EWGFEWGFb+2,2df+1,2 T!b+2,2,1+2
 - heat on sidestep 2u+1+2(dash) df+3,2,1 T!b+2,2,1+2
Wall Combos
- df+3+4,1,2
- b+2,4df+2
Wall Carry
- It's worth learning the 3,1,DF cancel into df+1,4 for wall carry when close to the wall, you can use df+1,4 or b+3,1
With Tornado
- df+1,df+2 T!df+3+4,1,2
- f,n,d,df+1+2 T!b+2,4df+2
Heat Burst Ender
- After 1,2,4,3 you can activate Heat for more wall carry ending the combo with heat dash will allow for a f,n,d,df+1+2
Wall / Floor Break
- End with f,f,f+3 to break walls and db+2 or f+4 for floor break
Key Moves
- Fast attack to start offense and check situations. 1,1 can be used for poking and hit confirm into 1,1,2.
- Homing counterhit launcher. Slightly unsafe on block so use it alongside a proper read on your opponent.
- Good button for pressure up close and at the wall. While the advantage is not huge, it feels like and you can often overextend after it. If the opponent likes to step or challenge it, use df+2 to condition them to stand still.
 A low poke that leads to pressure similar to f+4.
- Useful low against opponents that try to stop your offense with high attacks or power crushes.
- Strong mid launcher to compliment Kazuya's mixups. Very useful after Heat Engager or in okizeme.
- Counterhit launcher that hits grounded opponents.
- Risky low that knocks down into a strong okizeme. It's the cornerstone of Kazuya's mixup game.
- Pressure tool with great range.
- EWGFA high launching attack with many applications in the neutral It's important for punishment, but can be used for approach and as a keepout button. Don't neglect it.
Heat Engagers
- Long range attack you can use for approach and control the midrange space.
- Mostly useful for punishment and okizeme. The heat dash situation allows you to safely block confirm this move.
- Useful for punishing and extending combos.
 Safe mid heat engager that is slightly evasive.
- High heat engager with Homing properties.
Command Grabs
- 1+2 escape
- FC db1+2 escape
Block Punishers
| Startup | Standing | Crouching |
|---|---|---|
| 10 | 2 1 | FC d |
| 11 | | WS |
| 12 | | ― |
| 13 | 2 (heat) | WS |
| 14 | 2 (range) | ― |
| 15 | EWGF df | ― |
| 16 | ― | WS |
Suggested Whiff Punishers
- EWGF
Guaranteed Follow-ups
- 4 ― [ 4~3 ]
- FC df

- sidestep 1
- CH 4
- CH f
- CH db
- CH ws
- CH (31)
- heat on db~
 4 NEW
4 NEW
Defensive Options
- Has punch parry properties
- Power crush
- heat on 1Power crush
Matchup Punishment
- SlideWS2 float
- Asuka's b+3
- Kazuya db+1,23 ― f
- Ling RDS f+3+4,3+4
- Ling AOP 3+4WS2 float
- evade Leo's b+1,4...
- Paul's Deathfist
- Demoman (3rd hit)3 ― b
- Alisa's b+3+4,(3+4)4 before 2nd hit
- Claudio's f+2,22 (long dash)
- Kuma's f,f+2
- Heihachi's f,f+2
- Jack's d+1+2...
- Jack's df+1,2,1,23 ― b
- King's JGS 4WS4 float